If you recall, right before I was slated to start competing in the
Fabric Mart Fashion Challenge Sewing Competition, I sewed up most of my little girl's "Elsa" dress based on
McCall's 7000 sewing pattern.
I was nearly done at the point I wrote up that blog post, but because of how much time and energy was spent in September and half of October on sewing for the Fashion Challenge, I never did get around to showing off the final project and all of the festivities that surrounded her costume creation.
In addition to this sewing based post, I am also throwing in outfit of the day shots (
my daughter is in all of them, though, since the main focus of these days was her, after all). I am also including some Frozen-themed birthday party things that we did for her on her big day. And at the end, I included some photos from when we went to see Disney's Frozen on Ice. (
We surprised her with that one, too!)
I realize that there is a real hodgepodge of things going on here, but hopefully if you are here, and are looking for Frozen/Elsa things, what I have here can help you. And since it is three days before Halloween, I know some of you probably are doing what I do every year, a little bit of procrastination. You may be just starting your Elsa costume, so seeing a final product might make the work go a little better.
(
I am not out of the woods this year, btw--I have to make a PIZZA costume for Rex--no pattern--by Friday. Have I started it...erm, no.)
BIRTHDAY PARTY DETAILS:
Right before her party, CW and I posed with one of her birthday gifts/party decorations, the life-sized cardboard cutouts of the Frozen sisters, Elsa and Anna. Of course CW squealed with delight after seeing the life-sized Queen and Princess, but both Mr. Dina and I squealed with delight (
well, not really, lol) after
we realized that for $35 we could have both a present AND a party "favor." The guests at the party would receive a sparkly crown (
like CW's--$1 at Joanns, btw) and they, too, could pose with Anna and Elsa and I would send the photo to their parents after the party.
OOTD: Dress, Anthropologie; Shoes, Target.
My daughter looks so beautiful in her Elsa gown! Worth all the hours of sewing I did.
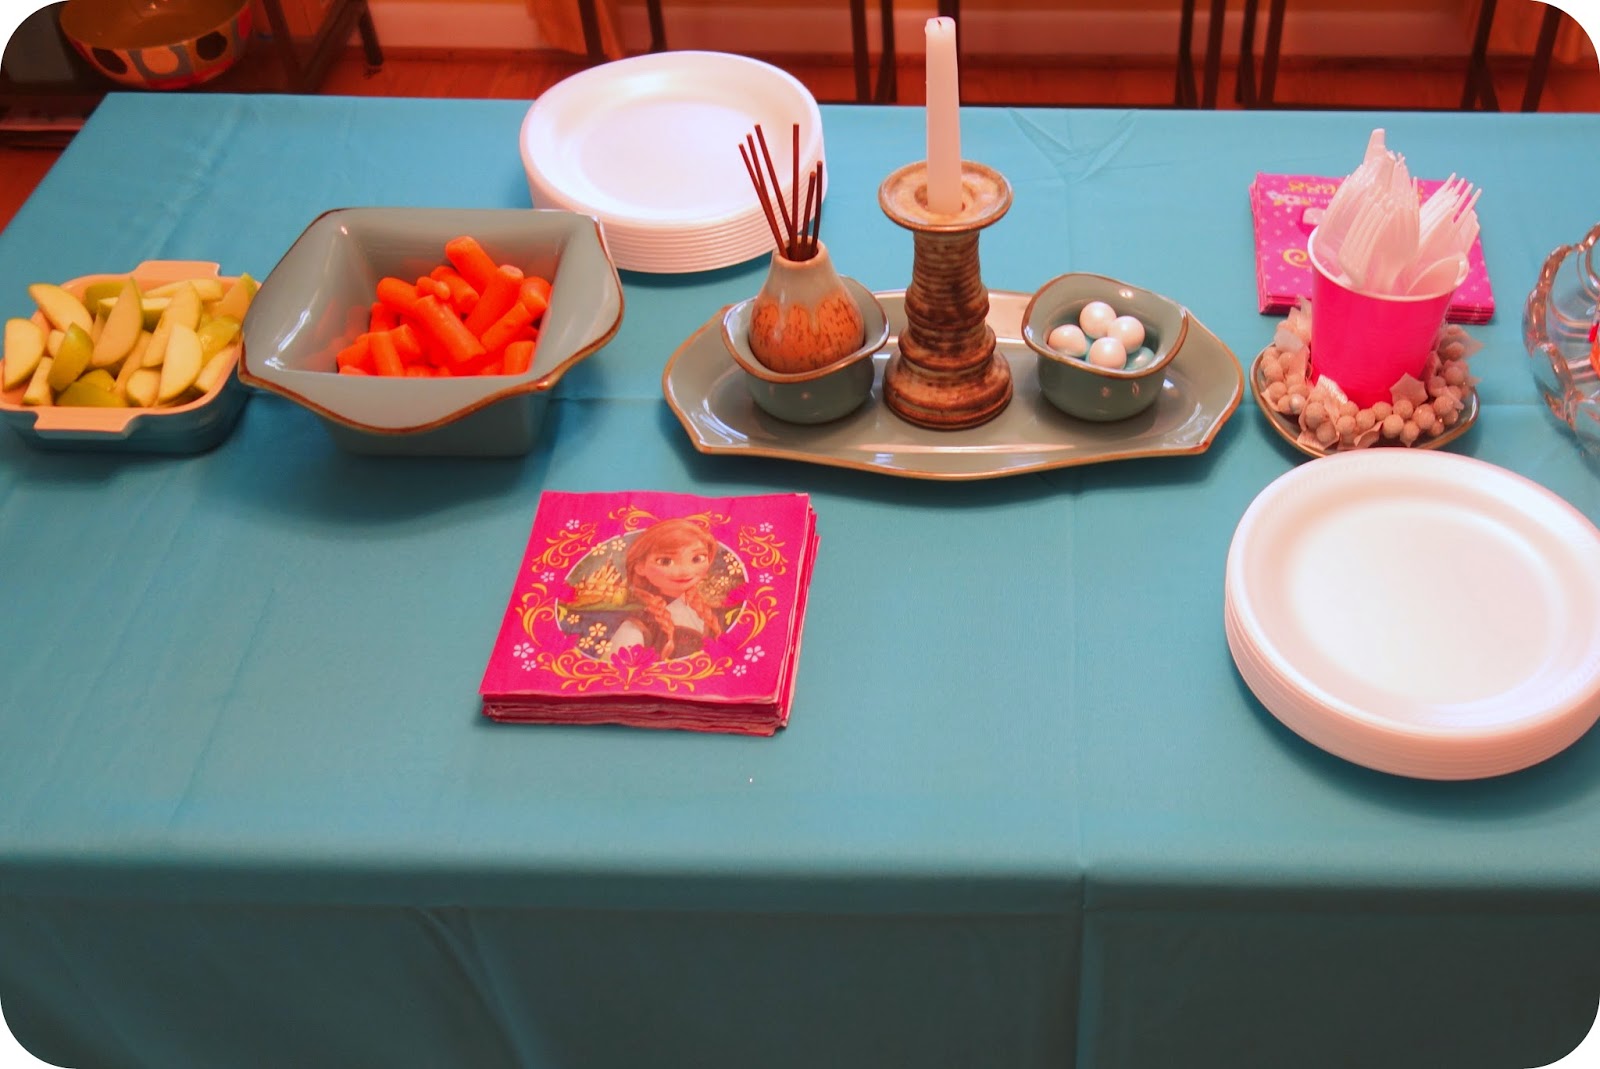
Since we had only invited a handful of girls and their parents to the mid-afternoon party, we knew we wouldn't need much in the way of food, but we know that kids get hungry and thirsty, so we made sure to set up the table in a way that they could have easy access to the food and drinks. This is the shot before I had put all the food out.
I happen to own a lot of aqua blue colored dishes/serving pieces, so we had zero costs there. (
I guess I was onto something thirteen years ago when I put all these things on my registry.)
Again, not much in the way of food and snacks, just apples/carrots/some juice (on the glass platter just outside the frame of the photo) and some gumballs.
There were other food items, but they were part of the festivities of the birthday party.
Originally I was going to have a "Frozen" yogurt bar, but when we saw the Blue Bunny Birthday Ice Cream flavor, we *knew* that had to be the dessert for the treat. It's good, you all. Mmm.
Anyhow, the girls were invited, one at a time, to get some ice cream from me, and then put their favorite decorations/yummies on top of it. We used pearl colored balls, silver balls, aqua blue sanding sugar, marshmallows, and sno-caps (get it, ha!).
The ice cream bar was a huge hit, and the expenditure was very little. Some of those girls, though, man, they poured on those candies and treats. Sorry, parents!!!
Because it was a birthday party, of course we had a cake. More sugar, hey! Anyhow, Harris Teeter had this cake as one of their options, so even though there was no specific Frozen birthday cake licensed by Disney, this sheet cake with blue icing and snowflake decorations was available. We added the 6 candle and the Elsa mini doll (
she's in her coronation outfit in this one).
Over the summer I made quite a few "Elsa" skirts for little girls, and for one version (
given to CW's cousin), I used some sparkly poly organza. I had some left over, so I knew that I could use it for something. And that something was as a wrapping for the party favors the girls went home with (
in addition to the crowns they received at the beginning of the party).
Each was cut using pinking shears, but that still didn't keep the fabric from fraying, however, since these were only meant to last for a little while, I wasn't that worried about it. I enclosed some blue and white gumballs, some
snowflake stickers, and a
Frozen ring in each girl's favor. (
I also made sure to have a few boy versions available--they received the Kristoff rings.) I then tied the favors using some Frozen ribbon I found at Joanns.
MCCALL'S 7000 DETAILS:
I wrote up a review of this pattern at Pattern Review, so definitely take a look if you want more info on it.
The dress turned out quite well, but I personally did not want to make the whole thing from woven fabric. Instead I decided to make the bodice bit from knit fabric (
extra stretchy for growth spurts, plus easier on her to wear), and use some gorgeous sparkly metallic linen (
from Fabric Mart, hey!) for the skirt portion. Fabric.com had some great sparkly tulle, and although the stuff drives me crazy (
not the sewing of it, but the way it is always getting caught on things bugs me!), I knew this dress wouldn't be complete without it.
I wish the pattern had included directions for using knit fabrics, but in the end I figured out how to make it all work.
One way I had to "make it work" was to figure out how to get the super sheer white power mesh fabric to lay flat and down into the seam where it joined the knit sparkly aqua fabric. Nothing was working (
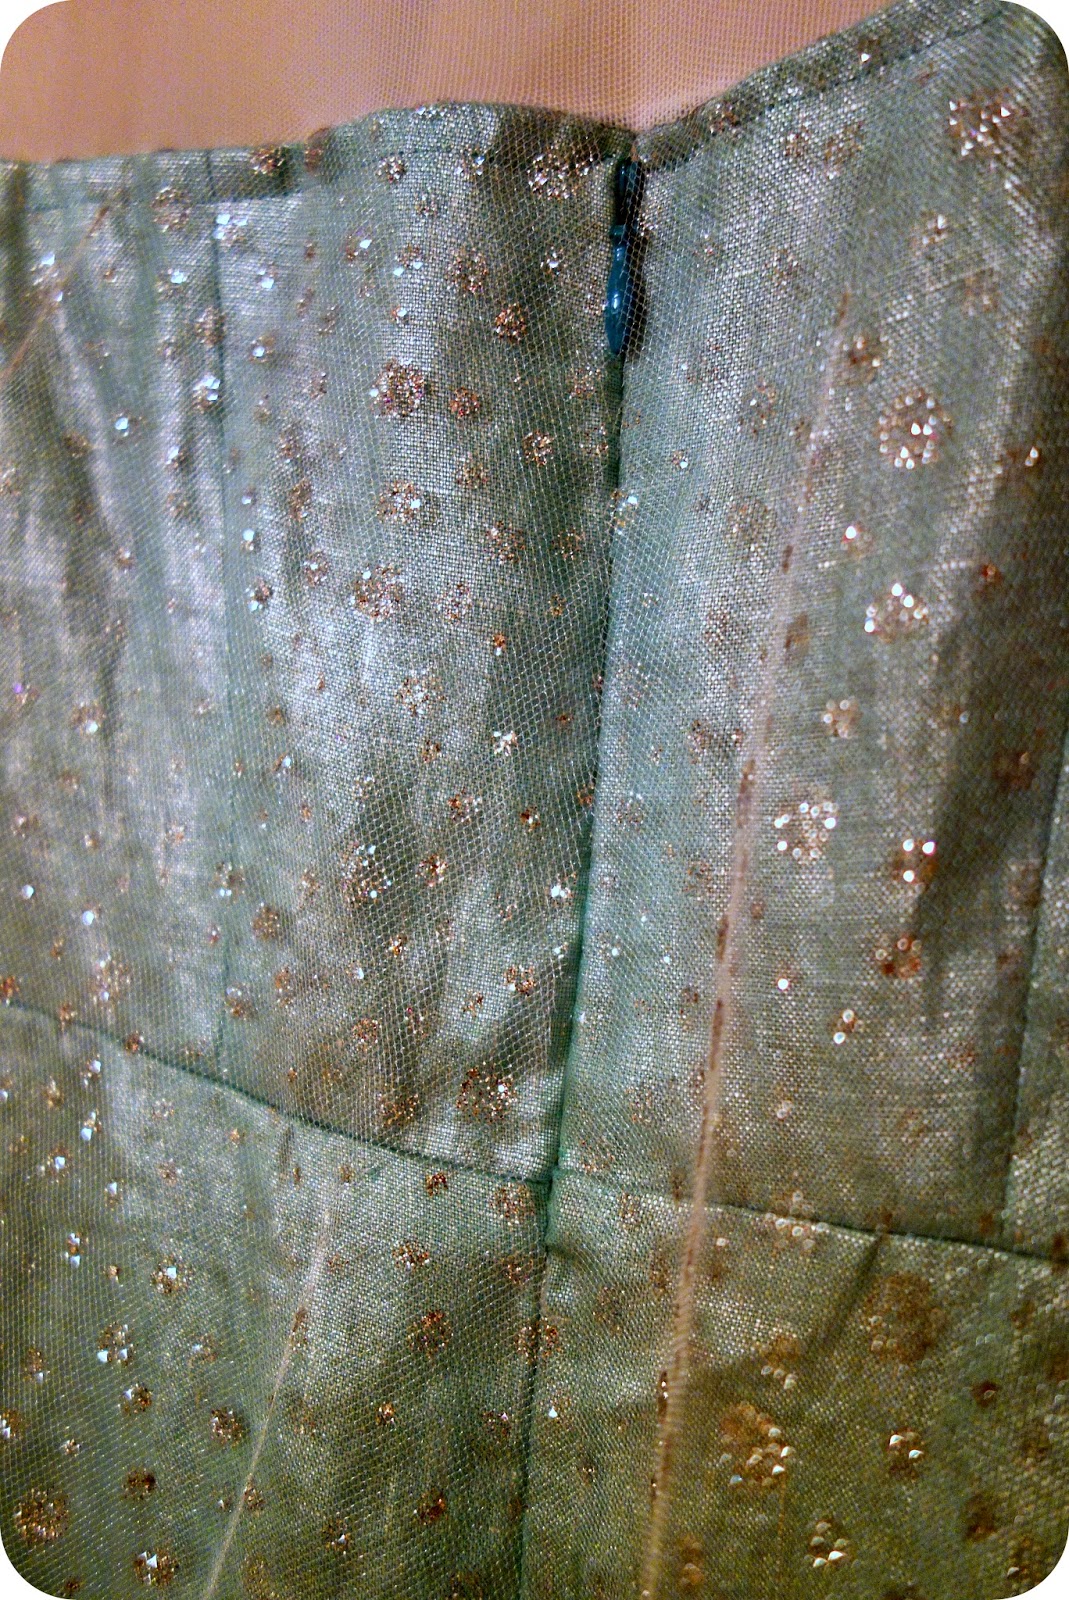
pressing that mesh--not an option), so in the end, I just carefully topstitched the mesh fabric down with the aqua sparkly knit fabric. You can see the topstitching detail at the sweetheart neckline.
(You can also see the zip in the back, though the front bodice was completely knit, the back fabric was partial metallic linen, so I just followed the pattern directions exactly for that bit. I did not, however, add a keyhole opening in the power mesh above the zip, there is PLENTY of stretch there and in the neckline to get over my daughter's head.)
Since a traditional facing or binding at the neckline wouldn't have worked, I needed to figure that out, too. I added a stretchy ribbon lace that I found at G Street fabrics there instead. Let me tell you, though, adding that ribbon to the neckline was a pain in the patookus. I had to pin like a madwoman and then carefully stretch the ribbon (
which was smaller than the power mesh opening by about two inches) to fit the neckline. I thought I had attached it fully only to discover that it had only been stitched on fully about halfway. Somehow in the process of attaching and stretching the ribbon, I had lost contact with the neckline. Grrr. But I took a deep breath and started over, and fortunately the second time's attempt was more successful. I am actually insanely pleased with how well it turned out. This is ice skating dance costume worthy, people. :-) Plus on my daughter it fits perfectly, and looks really lovely!
On the hem I used a "snowflake" stitch that I found on my machine. Since I have a 9 mm opening on the plate, but used a 5.5 mm foot to stitch the flakes, it does look a bit smooshed, but the effect is still there. I didn't do this the whole way round, though, instead switching to a traditional stitch on the back. Heck, you can't even see it unless you are up close, but I figured that is what makes home sewing so special, these little details.
Back of the garment features an invisible zip that is accessed by a slit in the tulle. If you are using an organza or something very frayable, you will need to hem the opening of the fabric, but the tulle does not fray so I saved myself some work there. Plus, you can barely tell there is even an opening there.
Here is the back of the garment on her. If I could have lengthened the tulle a bit, I would have for a better effect, but ultimately, I worked with what I had. I think the shorter length works better for her age, though, much less possible to ruin the hem that way.
FROZEN ON ICE DETAILS:
Her outfit here is nearly identical to the one she wore at her party, but since I knew we would be doing a lot of walking (
I took her for a tour of my college beforehand since the show was at the Patriot Center), I insisted she wear her aqua blue sandals instead of her special plastic Frozen heeled mules.
She did bring her "Elsa" purse with her.
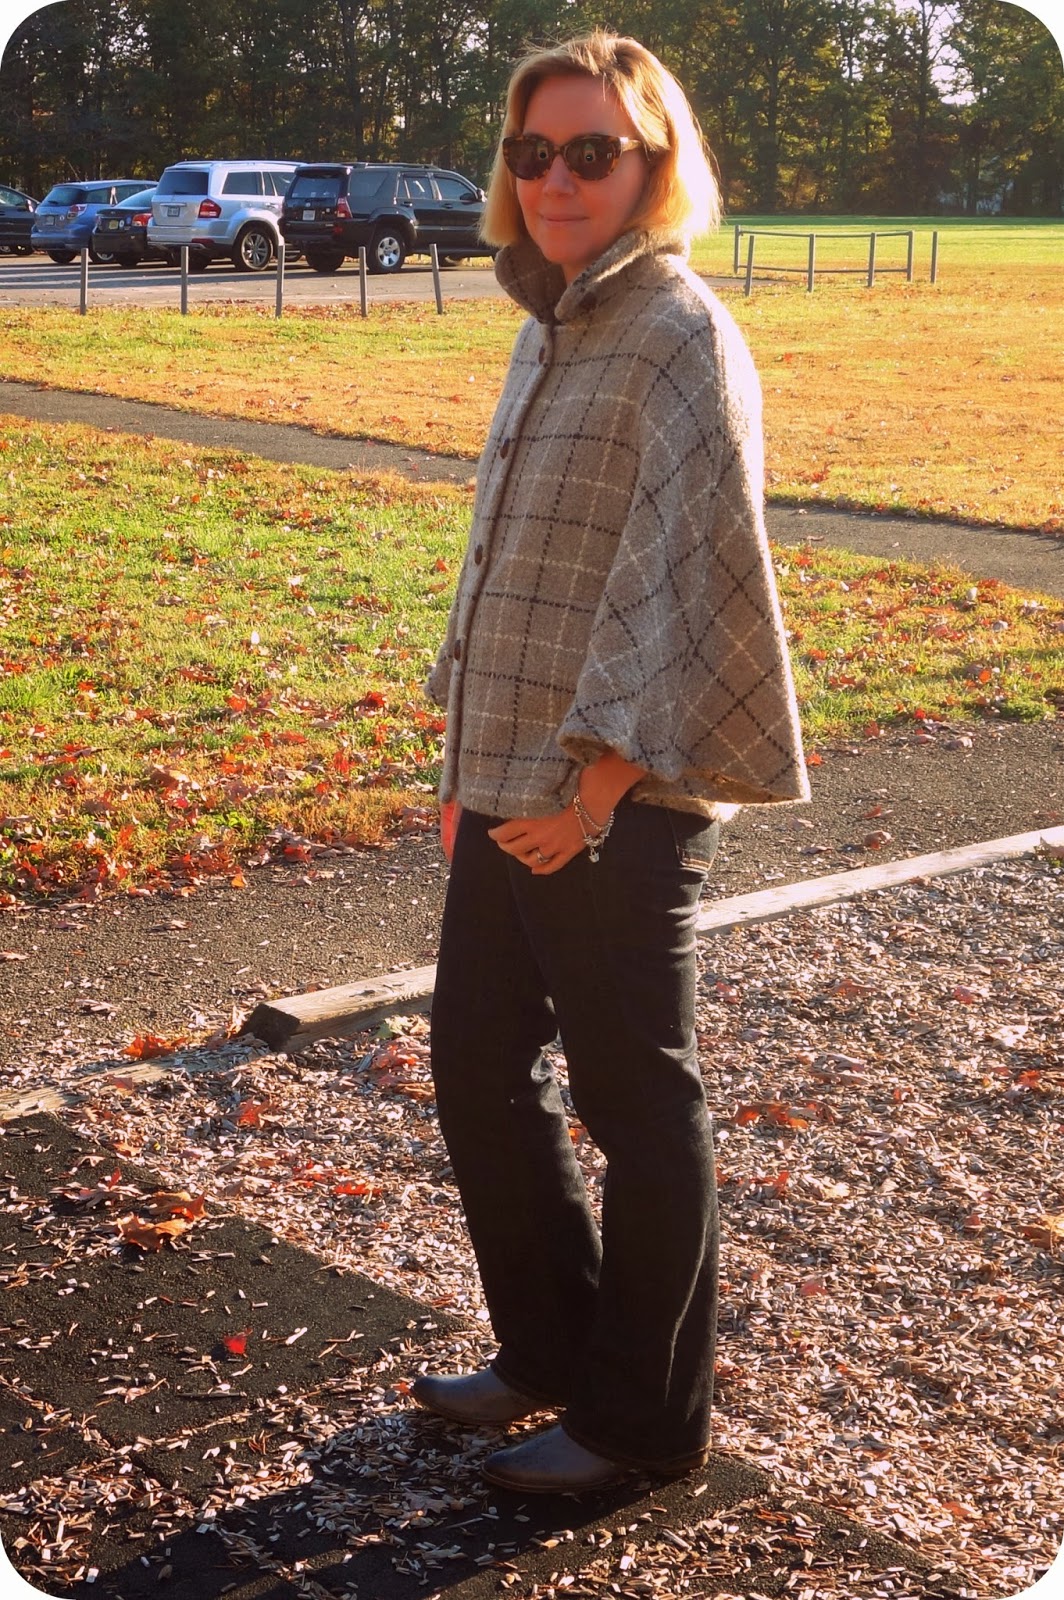
OOTD: Jacket and Jeans, J. Crew; Top, Hunter Dixon; Boots, Boden; Sunglasses, Anthropologie.
If you ever wonder what little girls are doing when they put their hand out the way CW has in this photo,
it is *this* Elsa moment they are trying to emulate.
Right before we headed to our seats, we stopped to grab this photo of the "stage." I bought one thing, that crazy snowflake wand, with the caveat she had to promise to lead us on Halloween night with it. She said it would be her pleasure. Yes, she is wearing this costume on Halloween. Like every other little girl out there this year. :-)
Definitely a low-definition photo, but I managed to get this photo of Elsa from the production. Thankfully CW has not asked for me to make her a shorter gown to look like Elsa from the show. ;-)
Okay, that's all. I'll be back later this week with other things, I am sure. But only after I get that pizza costume started!


